story by EMILY JOHNSON • photo by DAISY ANDERSON / UNSPLASH
If you’ve ever found yourself spiraling into a Pinterest black hole the night before Halloween, desperately searching for a spooky cookie recipe that doesn’t require a degree in pastry arts… girl, same. Halloween treats are either too plain (no shade to Halloween Oreos, but we want a little razzle-dazzle), or they demand orange and black food coloring, royal icing, piping tips, sprinkles, and a prayer.
But what if I told you there’s a festive Halloween cookie that’s eerie, edible, and easy enough to make with ingredients already in your pantry? Enter: Witch Finger Cookies.
The Halloween Cookie for People Who Don’t Want to Decorate
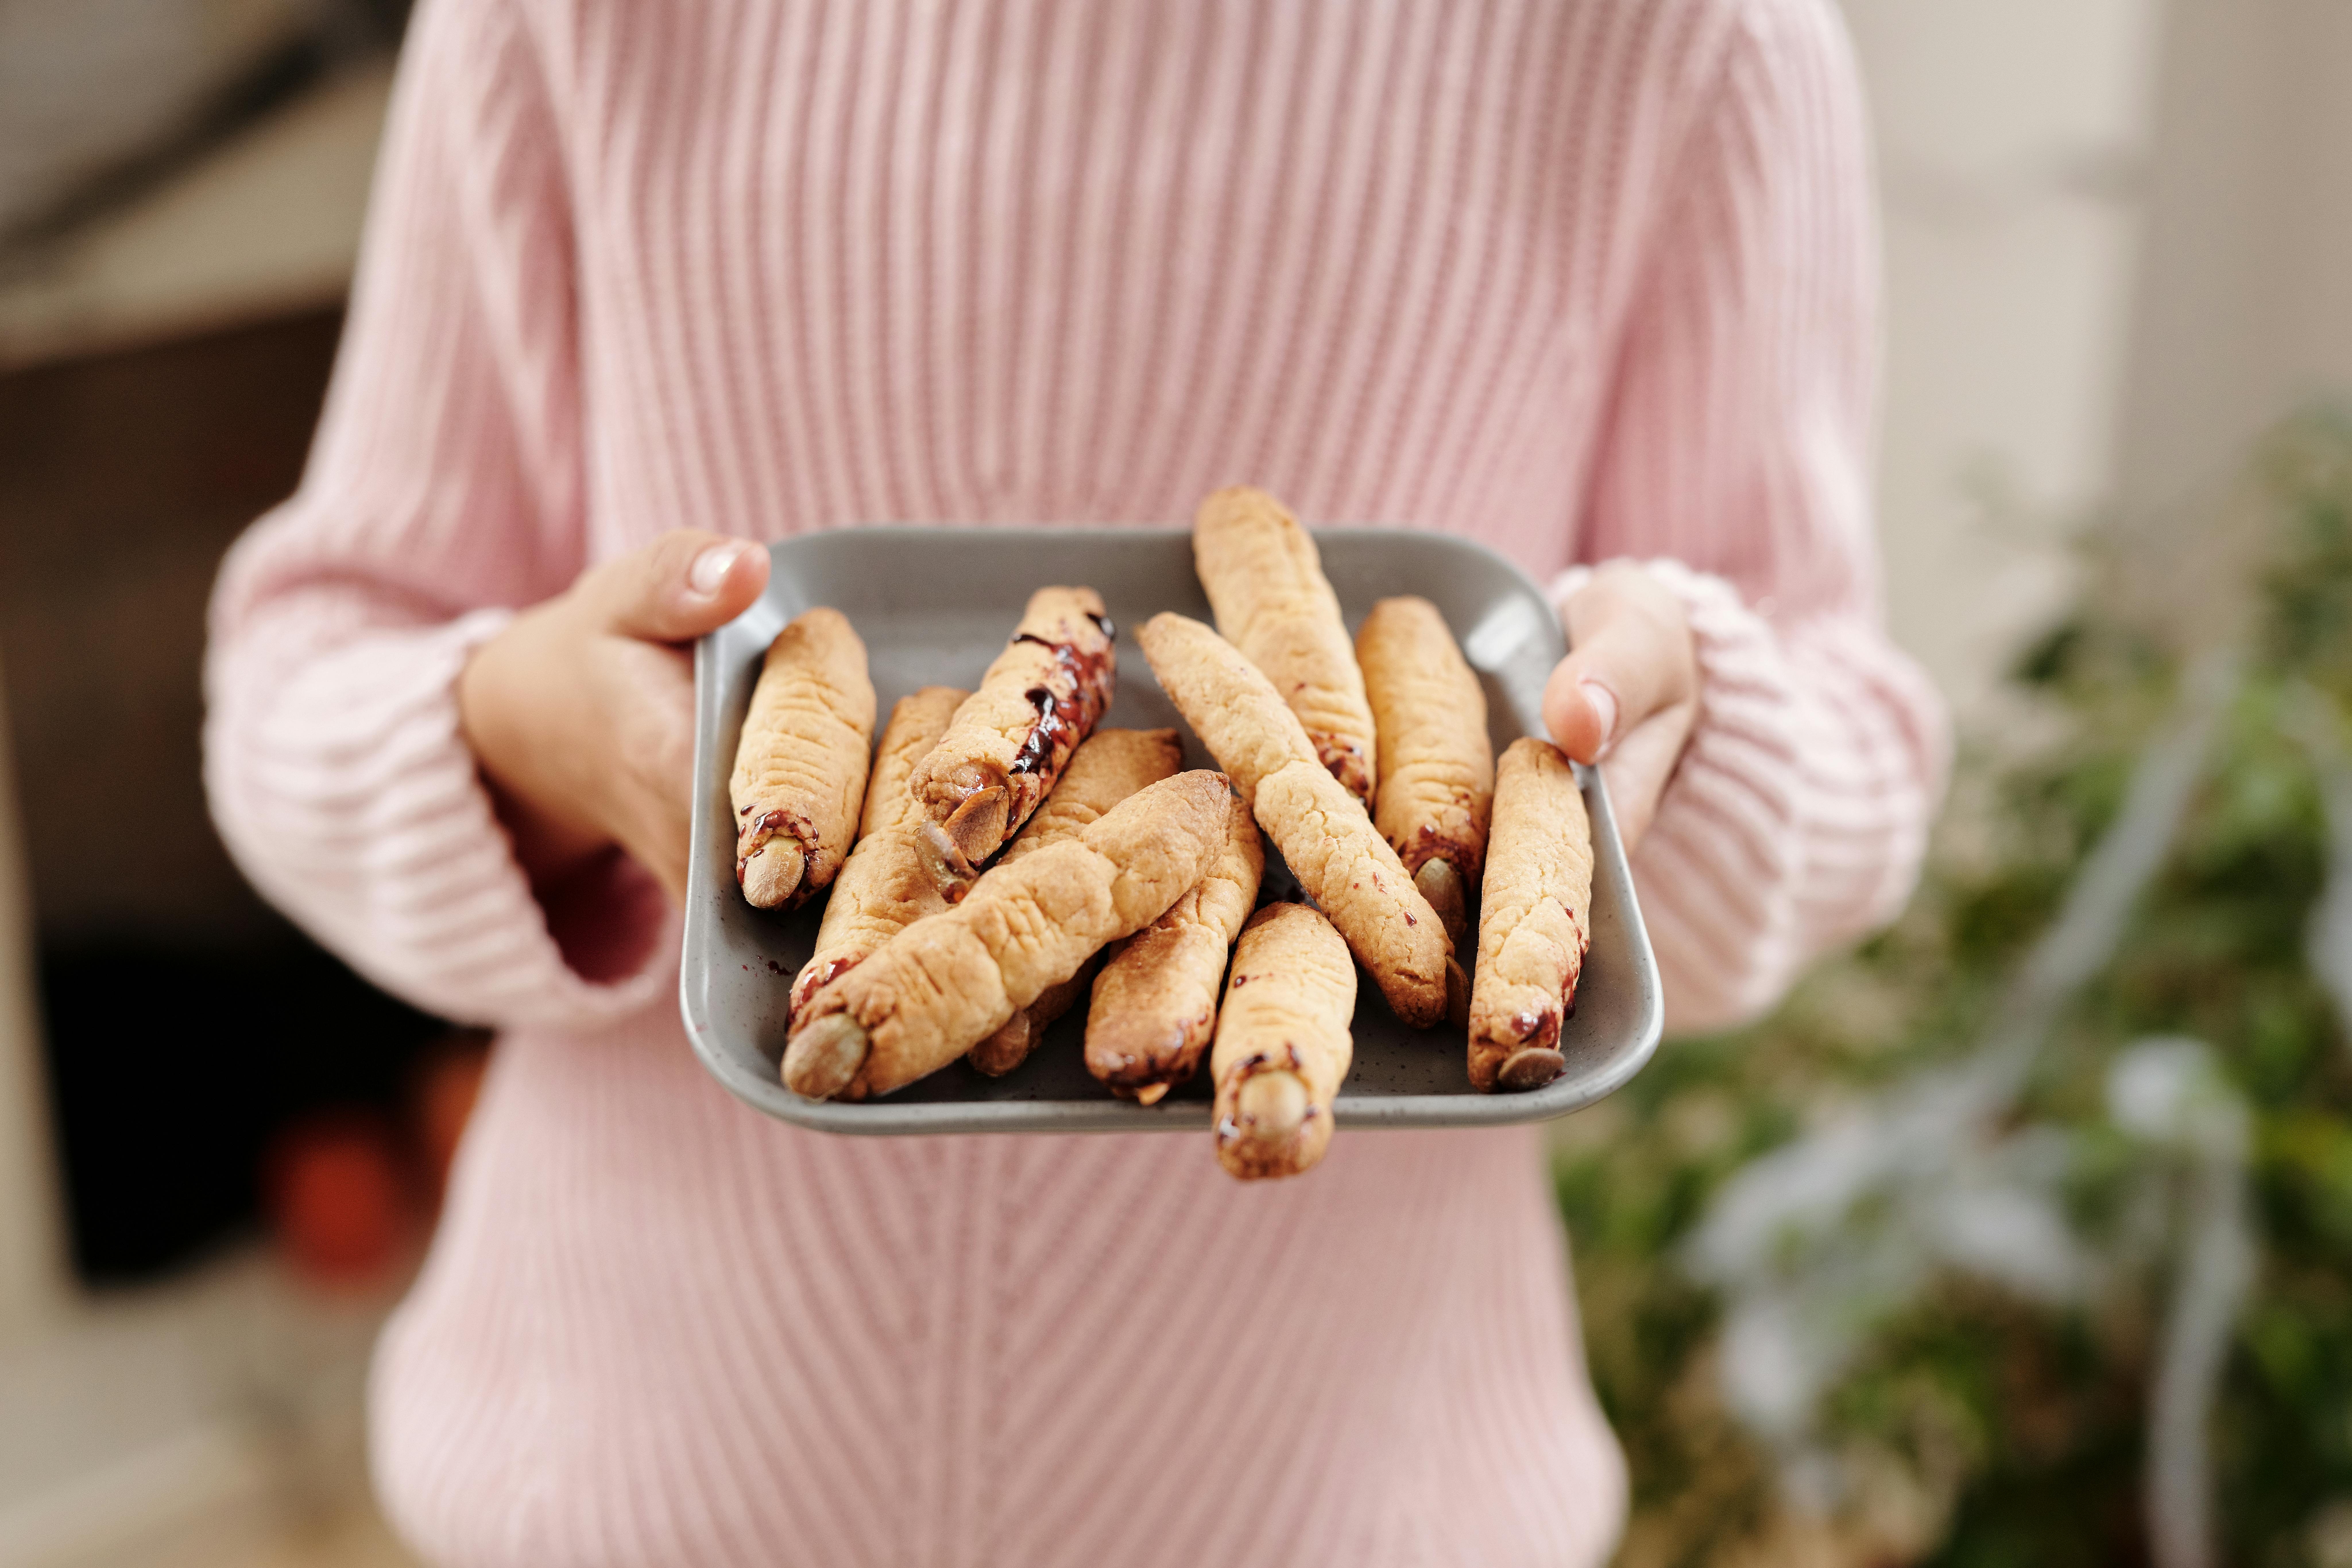
Now hear me out — these are spooky without being complicated. They’re peanut butter cookies dressed up like crooked witch fingers, and they don’t rely on bright dyes or sugar overload. They lean creepy, not cutesy, and the best part? There’s zero need for sprinkles or food coloring. All you need is a solid peanut butter cookie dough (use your go-to or try the simple one below), a fork for knuckle lines, and almonds for nails. Boom. Done.
Why These Witch Finger Cookies Work So Well
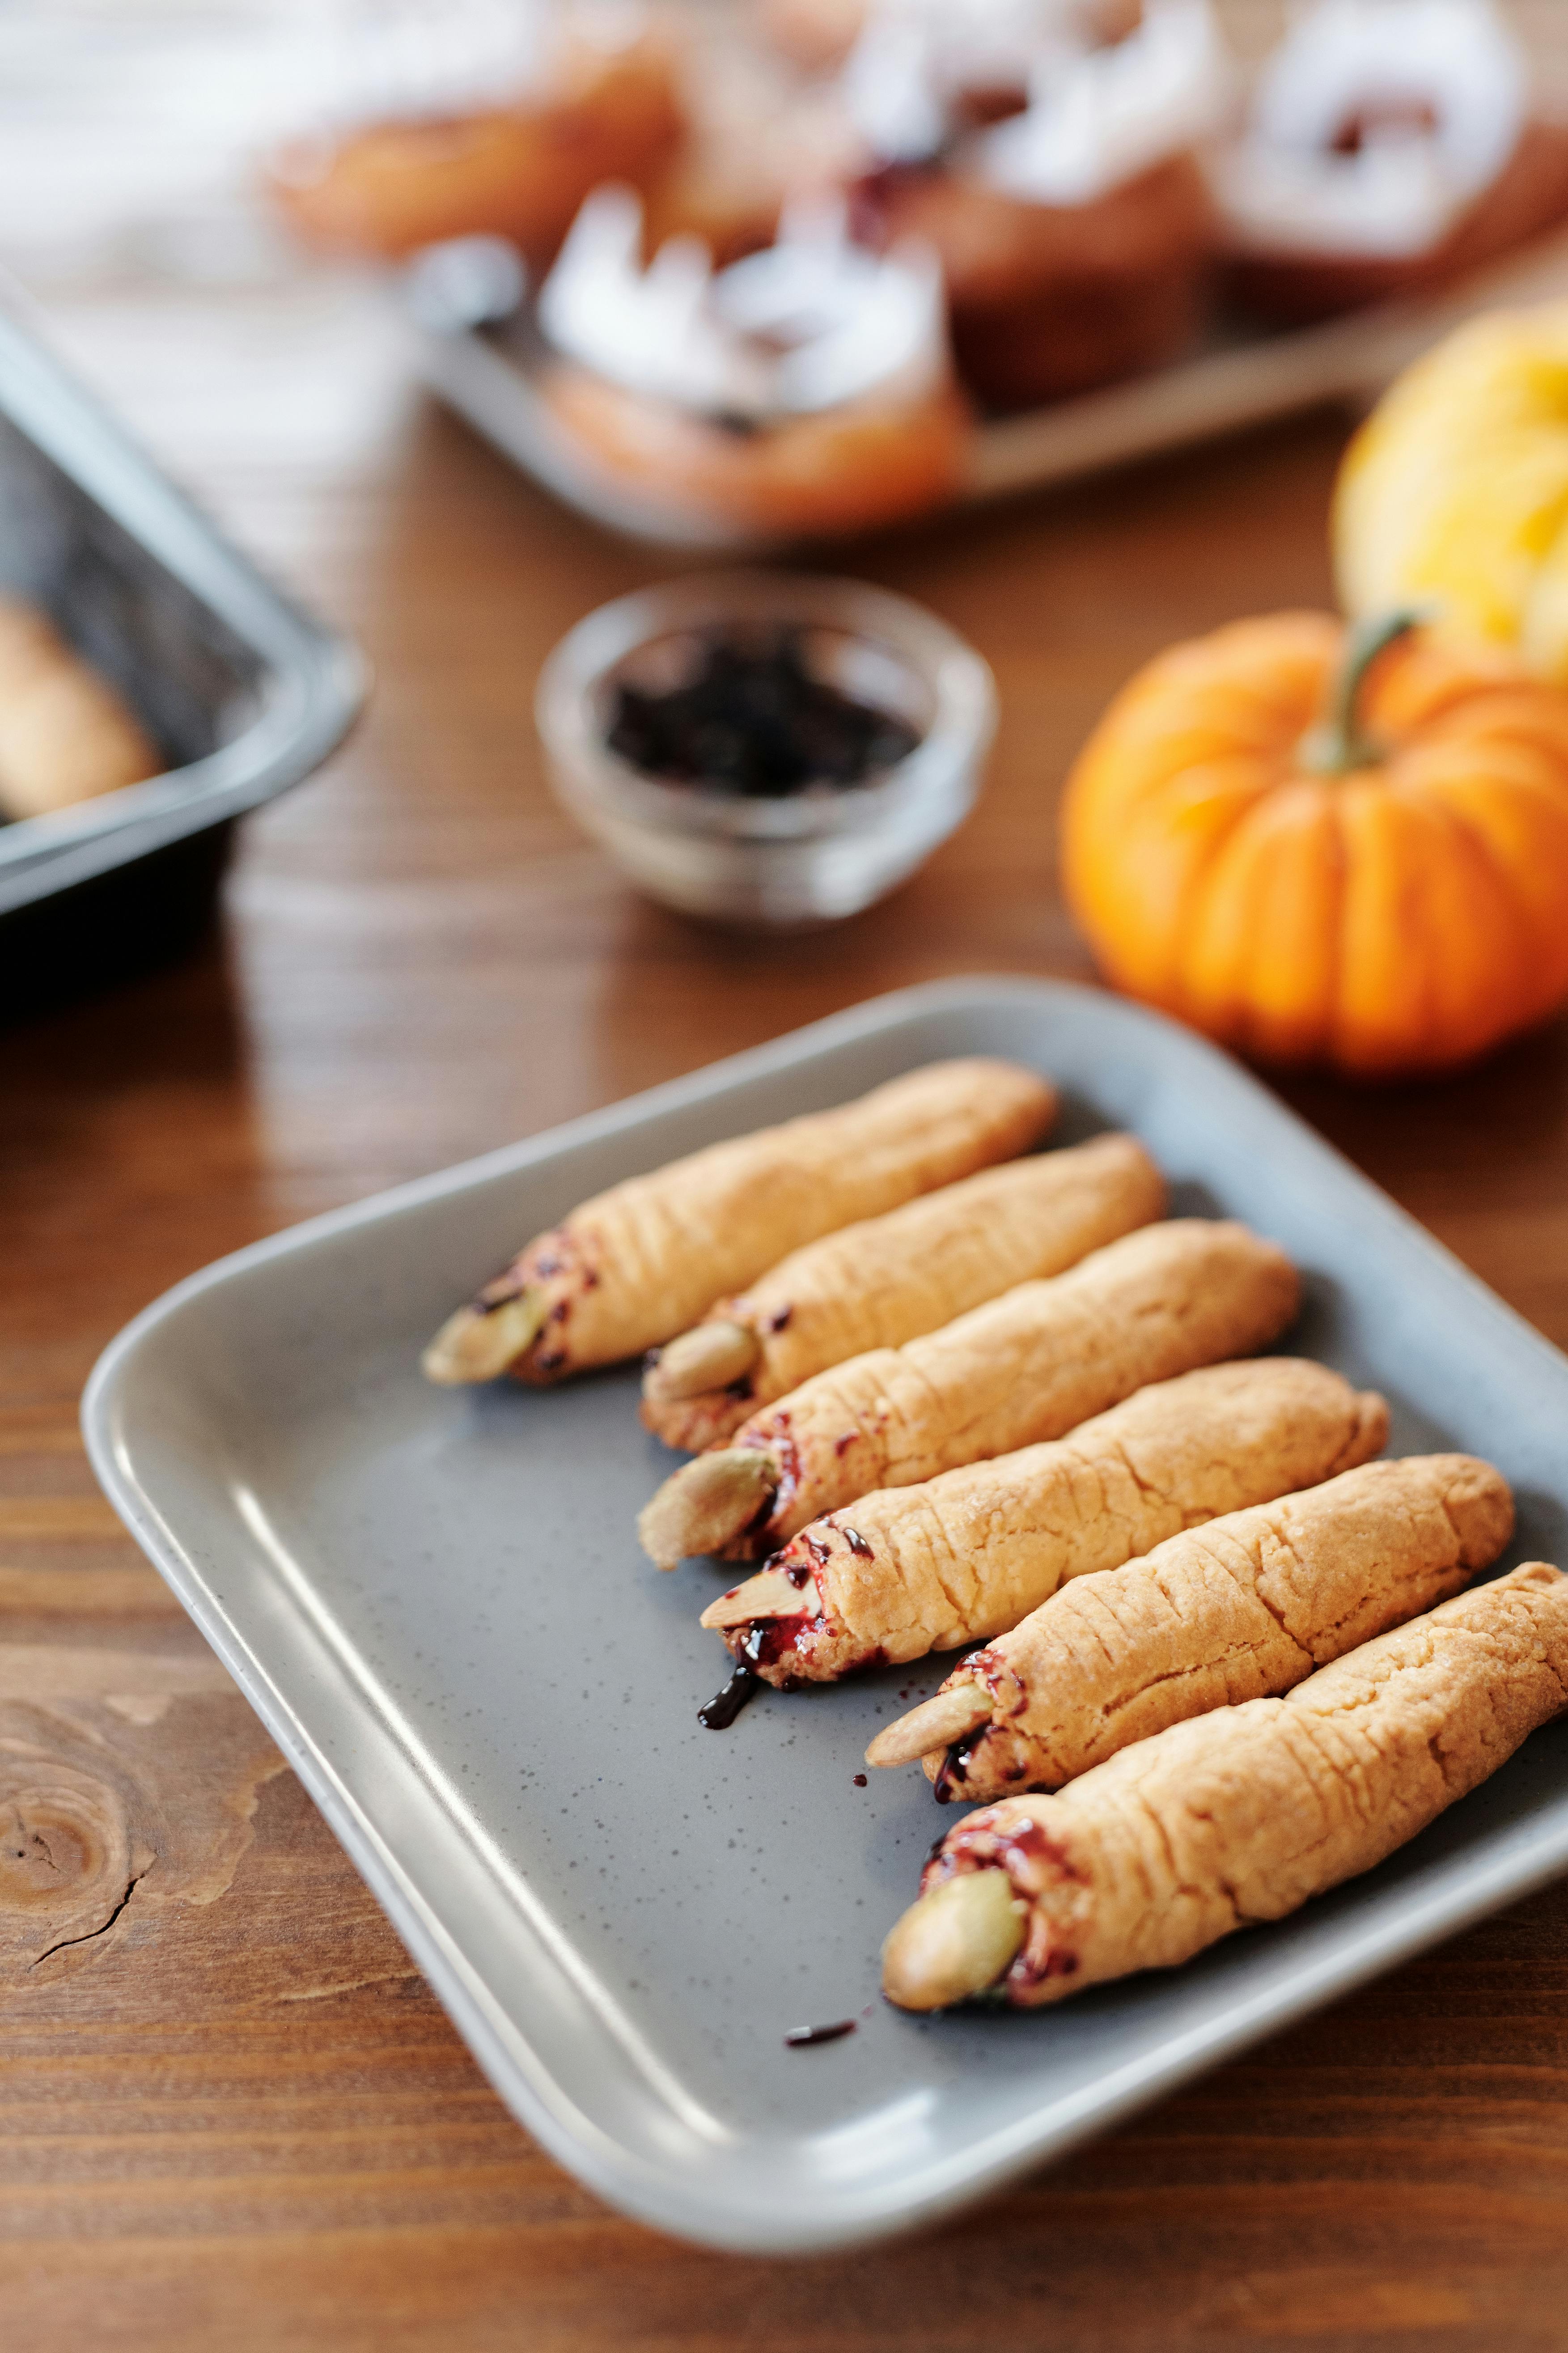
The dough doesn’t spread much while baking, so you can really shape them into long, bony fingers and they’ll hold their shape. The fork indentations where the knuckles should go give that gnarled, aged look (and a nod to the classic scored peanut butter cookie style). As for the nails, you press a whole or sliced raw almond into the tip of each cookie before baking. Please do not use roasted almonds, unless of course you’re trying to serve burnt fingernails at the party, which… could be a vibe, but not a tasty one. It’s a cookie with drama. With storyline. With a little horror movie glamour.
Ingredient Modifications & Additions
Whether you’re baking for a nut-free classroom, feeding a big Halloween crowd, or just working with what’s in your pantry, here are a few simple ways to customize these cookies:
Sugar Cookie Dough
Not a peanut butter fan? You can absolutely use classic sugar cookie dough instead. Just choose a recipe that doesn’t spread too much—no-chill or roll-out doughs tend to hold their shape best. The pale dough actually adds to the spooky effect, especially if you’re aiming for an eerie, porcelain-doll finger look.
Jam or Jelly
For extra creep factor, add a small dab of red jam or jelly under the almond or seed “nail” before baking. It oozes out just enough to look like blood, and it’ll make the cookie taste like peanut butter and jelly. You can also serve it on the side like a dipping sauce.
Pumpkin Seeds or Sunflower Seeds
Need a nut-free option? Swap in pumpkin or sunflower seeds for the fingernails. Sunflower seeds give a similar shape to almonds, while pumpkin seeds bring a greenish tint that leans more goblin finger than witch. Either way, they get the point across.

Witch Finger Peanut Butter Cookies Recipe
Ingredients:
- 1 cup creamy peanut butter
- ½ cup granulated sugar
- ½ cup packed brown sugar
- 1 egg
- 1 tsp vanilla extract
- 1 tsp baking soda
- ¼ tsp salt
- 1 cup all-purpose flour
- 20 whole or sliced raw almonds
Instructions:
- Preheat your oven to 350°F. Line a baking sheet with parchment paper.
- In a large bowl, mix together peanut butter, granulated sugar, brown sugar, egg, and vanilla until smooth.
- Add baking soda, salt, and flour. Stir until combined and the dough forms.
- Scoop about a tablespoon of dough and roll it into a log, shaping one end to taper slightly (like a fingertip).
- Use a fork or butter knife to gently press lines where the knuckles would be—you can add one line in the middle and two near the base for extra spook.
- Press a raw almond at the tapered end to create a fingernail.
- Place on baking sheet and bake for 10–12 minutes, or until just golden. Let cool on the sheet for 5 minutes before transferring to a wire rack.
- Optional: Add a little strawberry jam under the almond for a bloody nail look.
Tips:
- If your dough feels too soft to shape, chill it for 10–15 minutes.
- Don’t skip the almond press before baking. They need to bake in, or they won’t stick.
- Store in an airtight container for up to 4 days (if they last that long!).

Leave a Reply